 Glowproof
How to take skin progress photos at home, step by step
Pick one spot with window light, fix your phone at eye level at arm's length, take the photo without flash at the same time each day, and keep the first photo as your reference. Seven small decisions, made once and repeated, turn random selfies into a usable photo diary.
Coming soon to iPhone
What do I need to start?
A phone, a spot with window light and a minute. You do not need a tripod or a ring light, although a small stand helps. Decide on the setup once, write it down and then follow it as a ritual, because the point is for tomorrow's photo to look like today's.
People often search for how to take progress pictures at home and how to take them by yourself. For skin photos the answer is the same: remove as many variables as you can.
If you can, take two test shots on the first day and look at them on a larger screen. Check for glare on the forehead, a shadow under the chin and an uneven background. Fix those now, because you will live with the setup for months. Keep the test shots out of the diary.
Do not buy anything yet. Run the setup for two weeks, and only then decide whether a stand or a lamp would solve a problem you actually had.
What are the steps?
Do these in order on the first day, then repeat the same order every time.
The order matters because each step removes a variable before the next one. Light comes before the stand, and the stand before the face, so you never adjust the phone to fix a problem the light caused.
- Choose a spot facing a window, and mark it with tape on the floor if you stand.
- Turn off other lights so only the window lights your face.
- Pull your hair back, and decide now about makeup and glasses.
- Fix the phone at eye level, about an arm's length away, on a stand or a stack of books.
- Relax the face. Use a neutral expression every time, and look at the lens.
- Take the first photo with no flash. Keep it as your Day 1 reference.
- Write down the time and any change in your routine.
How do I keep the angle the same?
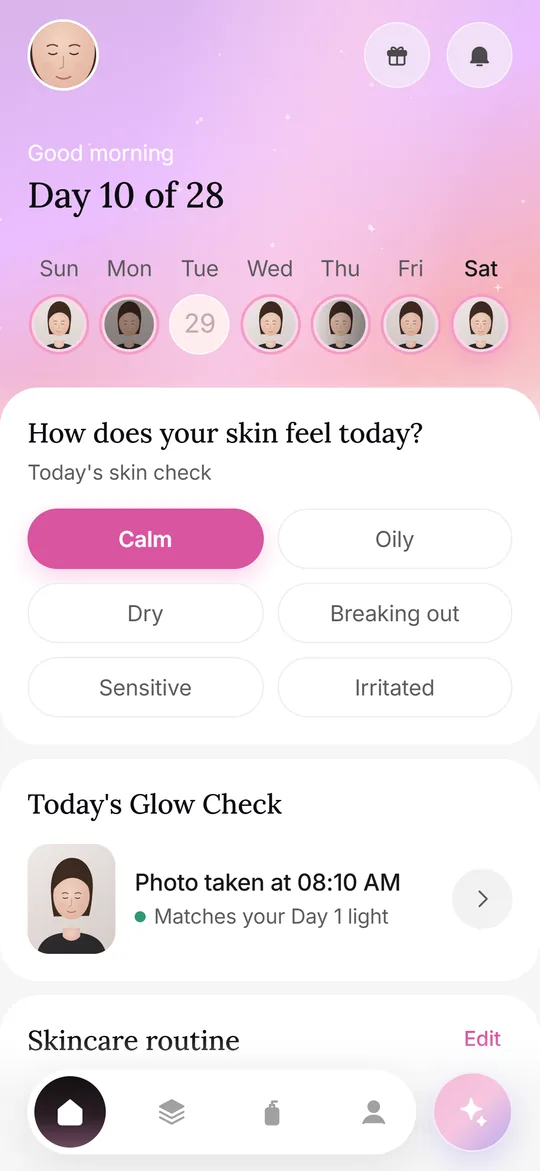
Use a guide. A face oval on screen tells you where to put your eyes and chin, and a faint copy of your first photo shows where you sat last time. Glowproof draws both in its camera. Without an app, you can lay a small piece of tape on the screen edge or the stand as a marker.
Keep your head level and square to the camera. Even a small turn changes which part of the face the light reaches. If you want side views, take them as a separate set with their own fixed position.
If you wear glasses daily, keep them on or off every time. The same goes for earrings or a headband that casts a shadow. Anything that changes the shadow on the face counts as a variable.
How do I make it a habit?
Attach the photo to an existing routine, such as after you wash your face in the morning. A reminder at the same time helps for the first few weeks. Research on habit formation found that the time to reach automaticity varied a lot between people, with a median of 66 days, so give it a couple of months before you judge how it is going (Lally et al., 2010).
The rhythm guide helps you pick how often to shoot and when to compare.
Make the setup the easy path. Leave the stand or the books in place, keep the phone charged near the spot, and set a reminder that fires when you are usually at the sink. Glowproof lets you take the photo together with the morning routine and sends no more than two reminders a day.
If you miss a morning, take the photo in the evening in the same spot, and note the time. A late photo with a note is better than a gap with an excuse.
What about different rooms, travel and bad days?
Travel will break your setup. Choose the closest equivalent: a window, the same distance, no flash, and a note about where you were. On a day when your face is not at its best, take the photo anyway. A diary that skips hard days gives an unrealistic record, and the point is to see what really happened.
If you shoot in a bathroom with mirror lights, always use the same lights and the same switch settings. Several mismatched bulbs are a common source of uneven color.
Which mistakes spoil comparisons?
Most failed comparisons come from a small number of causes.
Most of these slips come from rushing. Taping a small card with the steps next to the spot helps the habit survive tired mornings.
| Mistake | What it does | Fix |
|---|---|---|
| Changing rooms or windows | Light and shadows change | Use one marked spot |
| Using flash some days | Flattens the face, changes color | Never use flash |
| Holding the phone closer or lower | Distorts features, moves shadows | Use a stand at eye level |
| Different expression or tilt | Changes shadow and skin folds | Neutral face, level head |
| Editing or filters | Alters color and texture | Turn off beauty modes and filters |
| Changing three things in the routine at once | You cannot tell why | Change one thing and note the date |
What should I write down?
A note with the date, anything new in your routine and anything unusual, such as travel, poor sleep or a stressful week, takes ten seconds and saves guesswork later. Glowproof offers tags for these and a free-text note, and also lets you tap an area of the face outline to add your own label. They are only your words, shown back as you typed them. See the skincare journal guide for more ideas.
Use the same words each time. Calling one day dry and another tight makes the log harder to read than using one word for both.
What if the light is different one day?
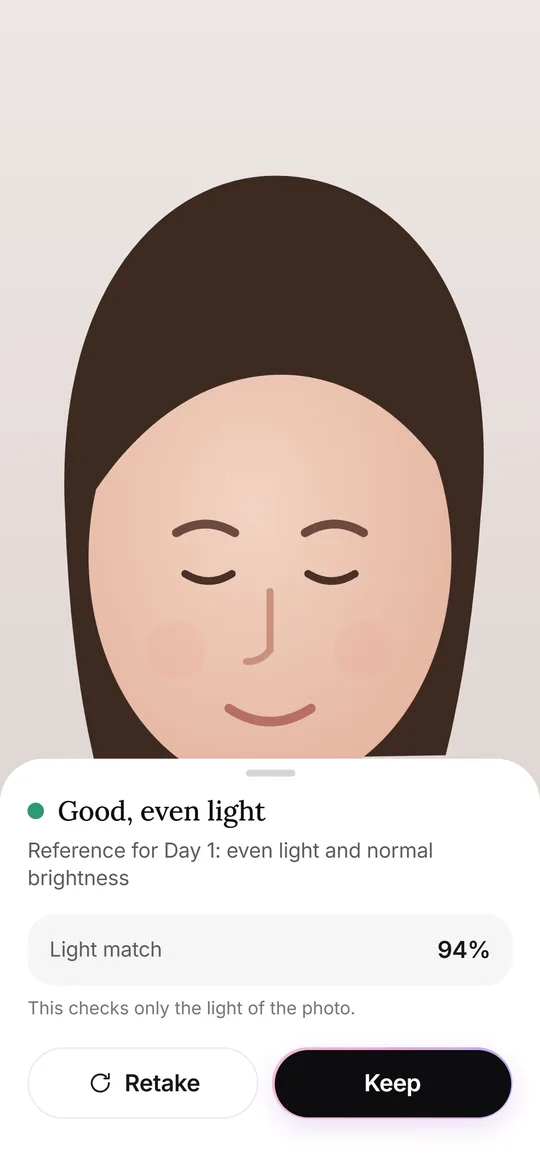
Take the photo anyway, and mark it. A light check, like the one in Glowproof, can flag that the photo is darker, brighter or warmer than Day 1, and the timeline then shows a small marker so you pick another day for comparisons. If you take photos on paper or in a camera roll, write "different light" in the note.
Glowproof is a photo diary. It does not interpret your skin, and nothing here is medical advice. If something on your skin worries you, see a qualified health professional.
Keep the photos in one place with their dates intact. A dedicated album or app is better than the general camera roll. Back up a copy now and then, because a lost phone takes the diary with it. In Glowproof, photos stay on the iPhone and are excluded from iCloud backup by default, so a zip from Export my data is your own backup.
Frequently asked questions
Do I need a tripod to take skin progress photos?
No. A stack of books or a small phone stand is enough. The goal is the same height and distance every time.
Should I wear makeup in progress photos?
Decide once and keep it the same. Many people take them without makeup, which is also what Glowproof's in-app tips suggest if you can.
Should I turn off phone filters?
Yes. Beauty modes and filters change color and texture, so they make photos harder to compare.
How many photos do I need for a comparison?
Two are enough, but a few weeks of daily photos give you a choice of well matched pairs.
Keep exploring
 Glow CheckThe daily photo: guide, light check, your feel, tags and notes.